Payor Code Mapping - Add New Payor Code
Note: See Payor Code Mapping for additional information.
Procedure
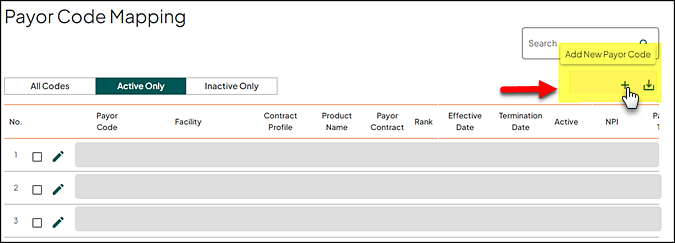
From the Payor Code Mapping page, use the following to add a new payor code:
-
Click the plus icon to begin and make the necessary changes to the defaulted information.
-
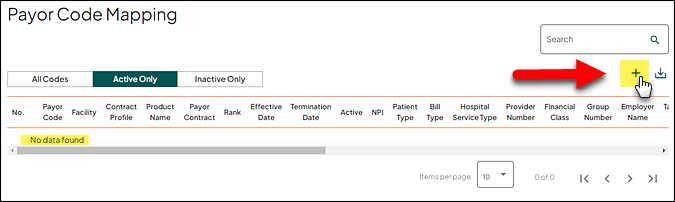
You can also add new payor code when an existing match is not found.
Note: The side bar is disabled while your are in the add mode.
-
With the new row, the following fields are populated with default information:
-
Payor Code - enter a single payor or enter multiple payor codes separated with a comma. Multiple payor codes must use the same criteria. If one or more payor codes is already mapped, any conflicts display as a duplicate with an error message at the top of the page.
-
Facility - includes a drop down list of available facilities.
-
Contract Profile - includes a drop down list of contract profiles for the facility.
-
Product Name - includes a drop down list of the product names for the facility.
-
Active - includes a drop down of Y (Yes) or N (No). Default is set to Yes.
-
Patient Type - includes a drop down list of blank (default), Inpatient, Outpatient, or Professional.
-
Transaction Code fields default to 9999.
-
Exclude Non-Billable - - includes a drop down of Y (Yes) or N (No). Default is set to N. If the facility does not use Exclude Non-Billable, the column displays N/A.
-
Note: Enter Date, Entered Time, and Saved By fields cannot be edited when adding a new payor code.
-
The following are required fields and are indicated with a red asterisk (*)
-
Contract Profile
-
Product Name
-
Rank (numeric value)
-
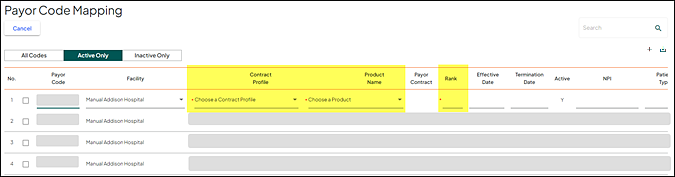
Note: Generally you set Rank to 1, but there are occasions where the same payor code is mapped to multiple products. This requires a unique identifier such as NPI or Taxonomy, etc. and the more specific mappings are given a raking 1, followed by 2, 3, etc. with the less specific or default mapping as the higher Rank number.
-
You are presented with an error message when Product Name and/or Rank are blank. Make the appropriate corrections to proceed.

-
Text fields do not allow special characters ('\!@#$%^&*+={}[]|:;?`~). You are presented with an error message if a special character is entered. Make the appropriate corrections to proceed.

-
Click Save to record the new payor code mapping. With this action, the system validates that the payor code effective/term dates do not overlap an existing payor code and is truly unique.
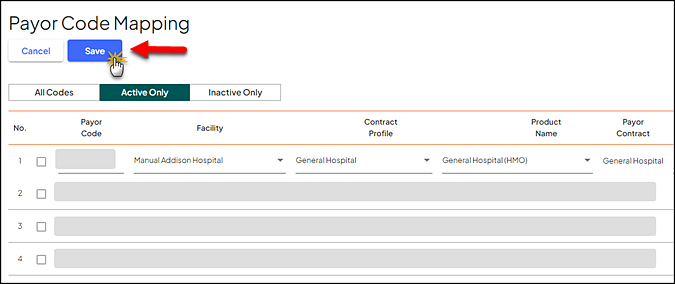
Note: The Save button does not appear on the page until all required fields are populated.
-
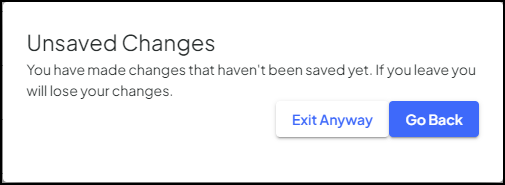
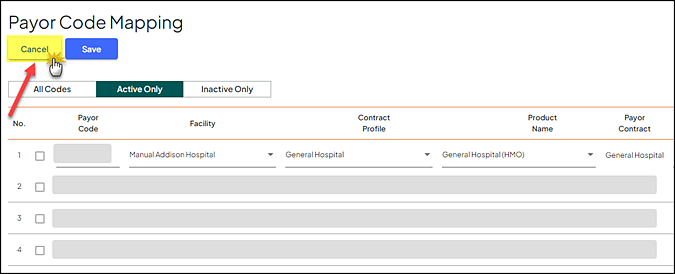
(Optional) Click Cancel anytime (prior to clicking Save) so that the current entry is not saved.
-
After selecting Cancel, you are prompted with the following message. Make the appropriate selection.